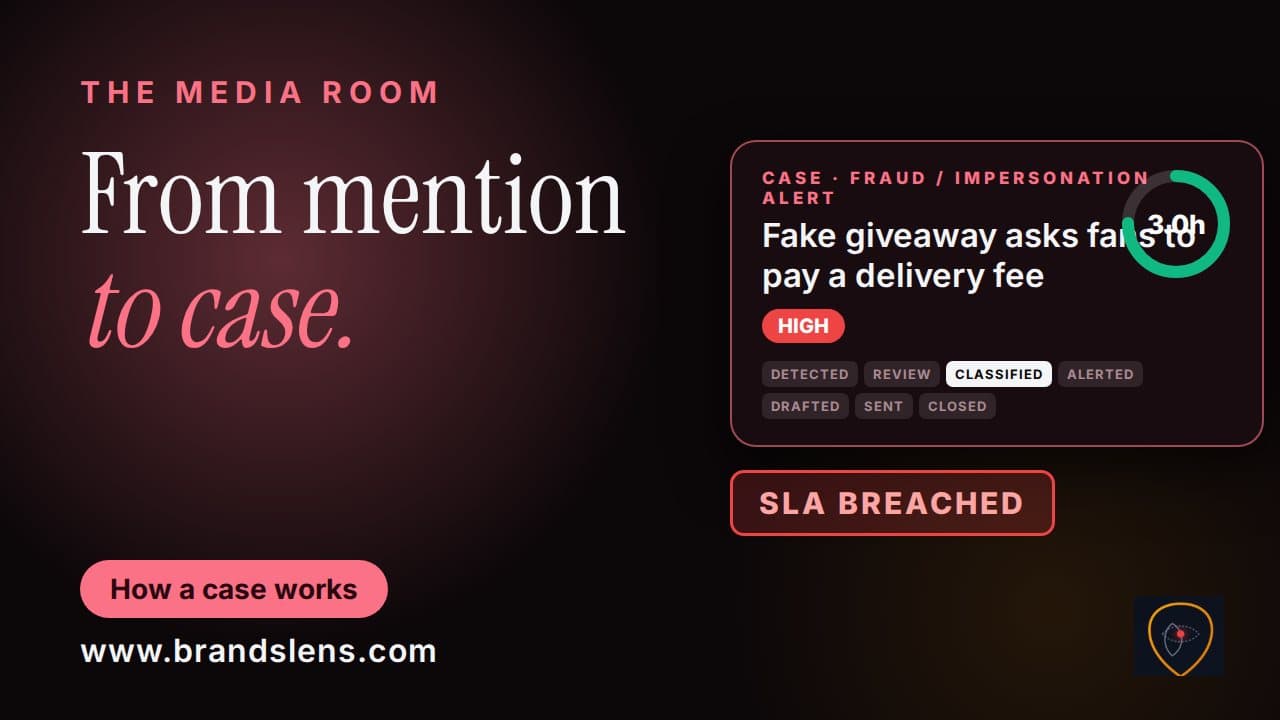
In this 1:37 tutorial you will learn how to add escalation contacts, tailor threat categories and send an escalation.
What you will learn
- Add one contact per role: communications, legal and security
- Edit threat categories to match your sector
- Send an escalation and check Escalation History
Chapters
- Tell the right people (opens in a new tab)
- Find Escalation Contacts (opens in a new tab)
- Add a contact (opens in a new tab)
- Threat categories (opens in a new tab)
- Send an escalation (opens in a new tab)
- Escalation History (opens in a new tab)
- The safety-net contact (opens in a new tab)
- Recap (opens in a new tab)
Good to know
What if no contact matches a case's category?
Add a contact under General Escalation. It appears as the fallback on every case.
Transcript
Read the full transcript
A case is only useful if the right person hears about it. Let us set that up. Stay to the end for the one contact that catches everything else.
Open Media Room. Escalation Contacts sits at the top of the page. Enter a name, an optional title, and an email address.
Choose the type of incident they should hear about, and add them. Add one contact per role, such as communications, legal, and security. Threat categories decide which contact is used.
Edit the list to match your sector. Add a category, such as Counterfeit Product Report, or remove one you do not need. On a case, select Escalate.
The Escalation Composer opens. Check the recipient in Send to, then review the Subject and Message, and send. Escalation History shows every message already sent for that case.
Now, the one contact that catches everything else. Some cases have no matching contact. Add one under General Escalation, and it appears as the fallback, on every case.
Contacts. Categories. Escalate.
Next, drafting and approving a statement. com to get started.